Below is a step by step guide on installing the DocMX Automated Upload Service followed by configuration of the windows service.
Installation Requirements
There are two navigation menus.
To install the DocMX Automated Upload Service the following two items are required:
- Installation Files
Two files that are required for the installation,
– DocMX Automate.msi
– Setup.exe
These can be download as a zip from here - License File
This is a unique file that is provided by DocMX to license and link the upload service to your DocMX instance.
Prerequisites
Before installing the upload service we recommend obtaining and setting up the following:
- Service Account
Create a windows service account that will be used to run the DocMX Automated Upload Service. The newly created service account will have read/write access to the local machine, and read access to any network location it will be required to access..
Installation Process
Run the application
Start by running the ‘Setup.exe‘ file on the machine you wish to install the service in ‘Administrator Mode‘
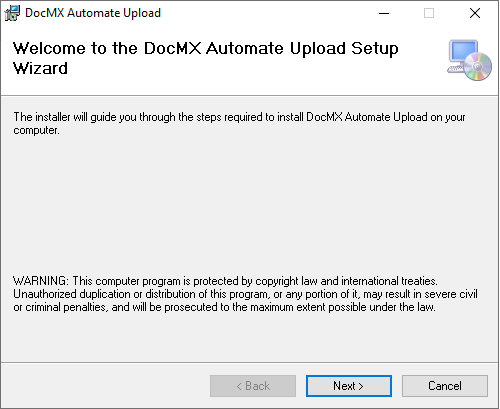
Start the Wizard
The wizard will start guiding you through the installation process. Click Next.
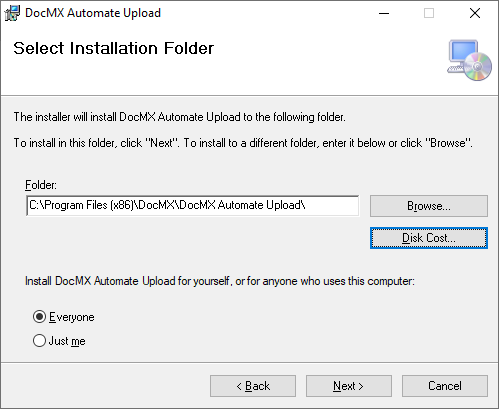
Select Installation Location
The installation folder will default to the operating systems installation location, browse to another folder if you want to install the service elsewhere. Set the installation to ‘Everyone‘.
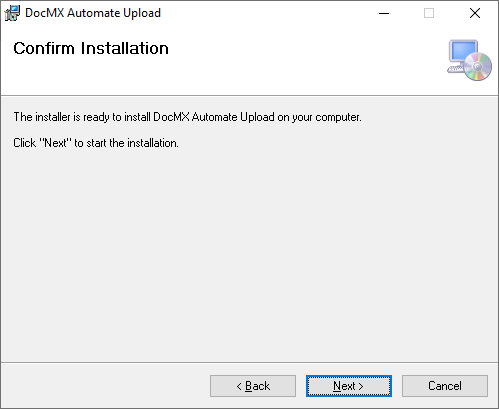
Confirm Installation
Confirm the installation then Click Next
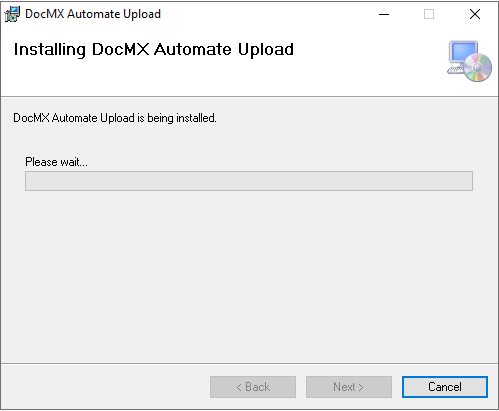
Installation
The files will now install on to the local machine.
Installation Complete
Once the files have been installed, the installation is completed and can click ‘Close‘.
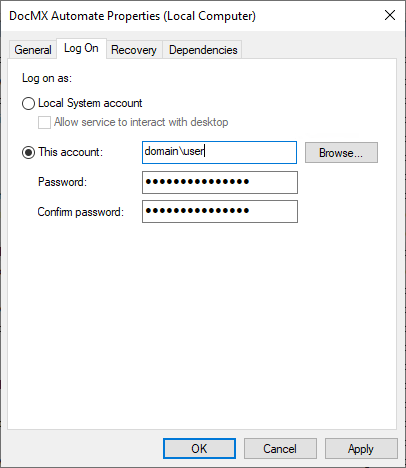
Update Service Account
With the installation complete, the service account now needs to be configured to ensure the correct permissions are used when running the service. On the local machine and with in windows, open up the services application:

When the services are listed, scroll down and find the service that has been installed called ‘DocMX Automate‘

Open up the properties for the service, click on the ‘Log On‘ tab and enter the correct service credentials.
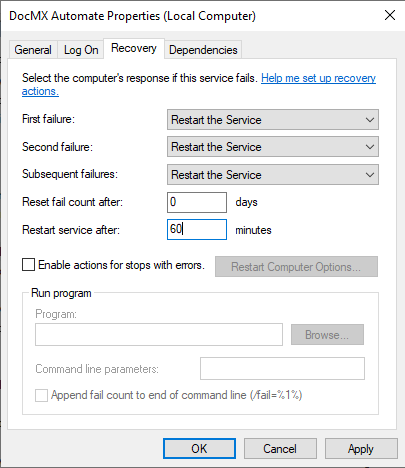
Optionally, click on the ‘Recovery‘ tab and set the failure actions as ‘Restart the Service‘, and change the restart service after 60 minutes.
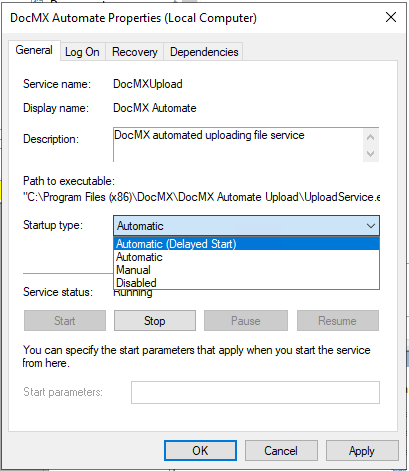
For systems using proxies or large enterprises, it’s recommend to use use “Startup Type: Automatic (Delayed Start)” to ensure all other services are online before DocMX Automate starts.
Next Step
Click on the following link to add the license file: