The following is a step by step process of setting up the upload service.
Run the Application
Navigate to the location the application was installed to. By default this will be something similar to ‘C:\Program Files (x86)\DocMX\DocMX Automate Upload’. Run the application in ‘Administration Mode’
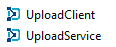
There will be two executable files. To configure the upload service, click on the executable called UploadClient.exe.
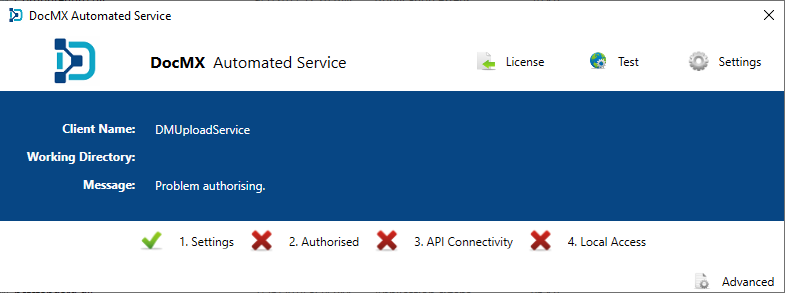
The application will open, at this stage there is no configuration information for the upload service and will display the following default values.
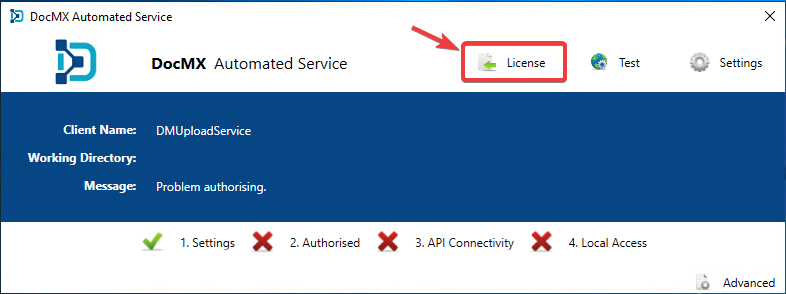
License File
You will have received a DocMX license file as part of the implementation process. Ensure the license file has been copied to the local machine then click on the License button to import the file. A file browser will open allowing you to navigate to the file.
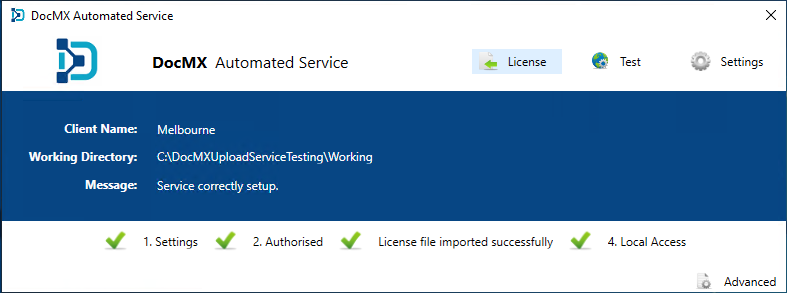
Click OK and if everything connected as expected, the four stages will turn to green ticks. If any of the stages remain with a red cross, please review the troubleshooting guide or contact DocMX Support.
Next Step
If all is configured correct, go back to the windows services, and turn on the ‘DocMX Automated Service’. Please ensure this is set to ‘Automatic’ for the Startup Mode.
Trouble Shooting
If you come across any issues configuring the upload service, please review the trouble shooting guide. https://help.docmx.io/kb/upload-service-troubleshooting