Additional information regarding the ongoing CrowdStike incident will be updated below.
CrowdStrike Impacted Sites
If your site is impacted by CrowdStrike, the following information should assist restoring operations while IT resolve the issue.
Key Points
- DocMX is not directly impacted by CrowdStrike.
- Your local Upload PC may no longer be operational during this time.
- If your local Upload PC is down, automated uploads will not occur, and you may not be able to scan-to-network either.
Recovery Methods
Outside of applying the necessary patches or preforming a restore for the whole instance, there are some simple methods operations can do to continue uploading documents quickly and efficiently.
- Utilising Drag-Drop for Automate queues or Dropzones.
- Emailing the documents to the dedicated email address.
Enterprise Clients
Most processes handled by the Upload PC are configured with a backup email address to maintain uploads during IT related incidents. While we recommend using the Upload PC to provide resiliency against network-related issues, if the Upload PC is unavailable the alternate methods will provide a similar outcome.
Please contact support to receive the relevant list of pathways available for your property. A table will be provided with the necessary information to continue uploads.
Changes to these pathways are controlled by the governing enterprise and cannot be freely changed at the property level.
To restore functionality for your machine, please follow the guidance provided by corporate.
Automate Queues and Dropzones
What are Automation Queues?
Automate Queues allow users to drag-drop documents into the system for automatic processing. If your account has access to automations, they will appear for you when dragging documents into DocMX.
What is Dropzones?
Dropzones provide a way to customise an “upload dashboard” by adding the commonly used document types, automation queues and intrays for your user.
For more information about indexing once the documents are in DocMX, please review the below:
- How to Index (Video)
- Documents (add/index) (Article)
Drag-Drop to Automate Steps
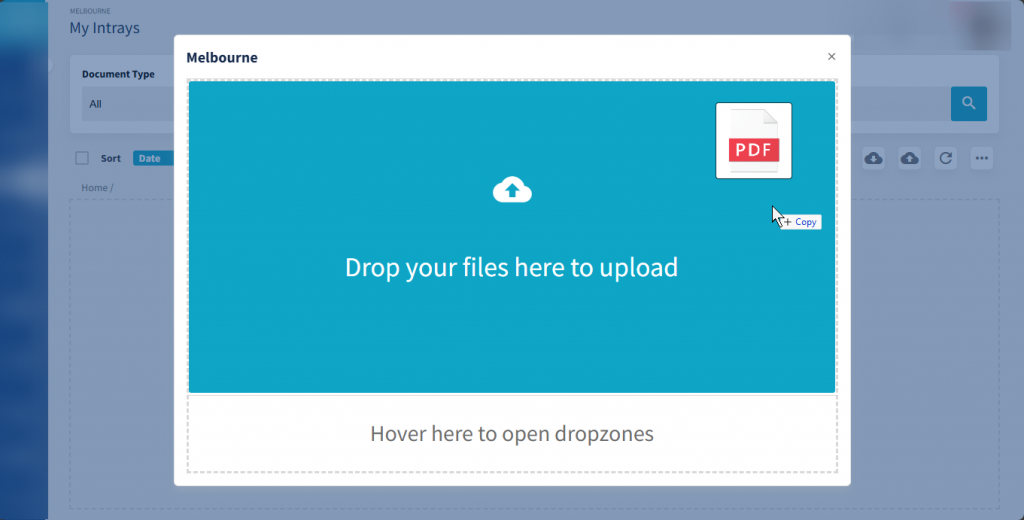
Drag the files into DocMX to show the upload dialogue box.
You can review the Entity being indexed to at the top of the dialog box. In this case, Melbourne.
To open the standard upload dialogue, release the mouse click over the top section, “Drop your files here to upload”.
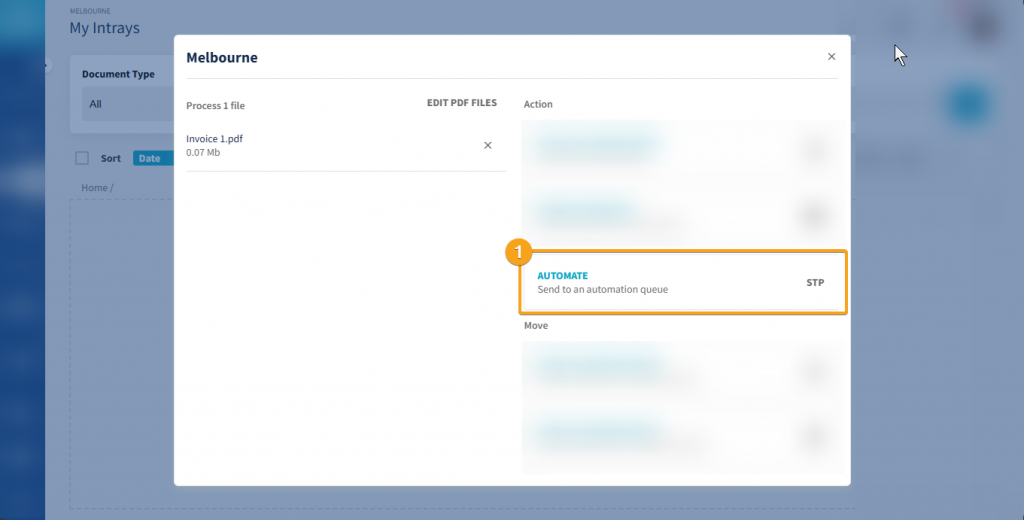
You can now review your documents have bene uploaded in the left pane, then click the “Automate” button in the right panel to show the list of available automate pathways.
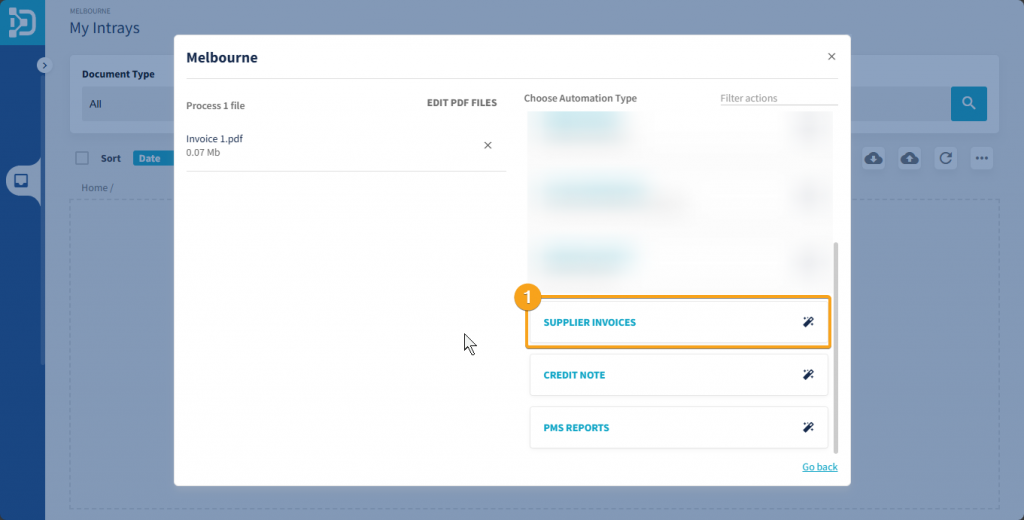
Find the relevant option in the right-hand pane. Note that you can filter this list if there are many available options.
If the list of files is correct and complete, click the button in the right-handle panel to upload those documents to that pathway.
Drag-Drop to Dropzones Steps
To streamline repeated upload options, you can configure your “Dropzones” to contain your commonly used automate queues. Once configured, you can drag-drop and use the “Hover here to open dropzones” option to quickly open the Dropzones interface.
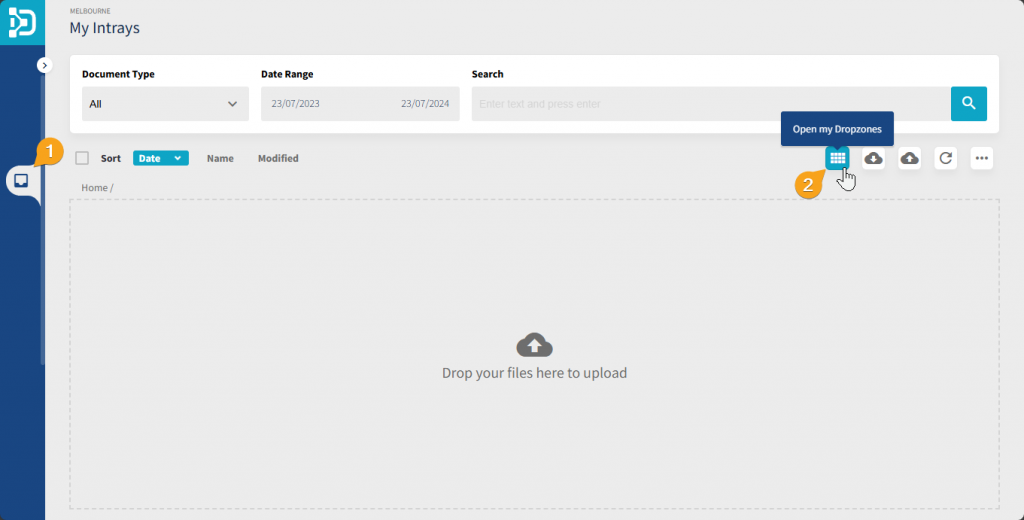
To configure and use Dropzones for the first time, (1) open your intray, then (2) click the Dropzones icon.
You can confirm which Entity you are indexing to along the top of the page, in this case, Melbourne.
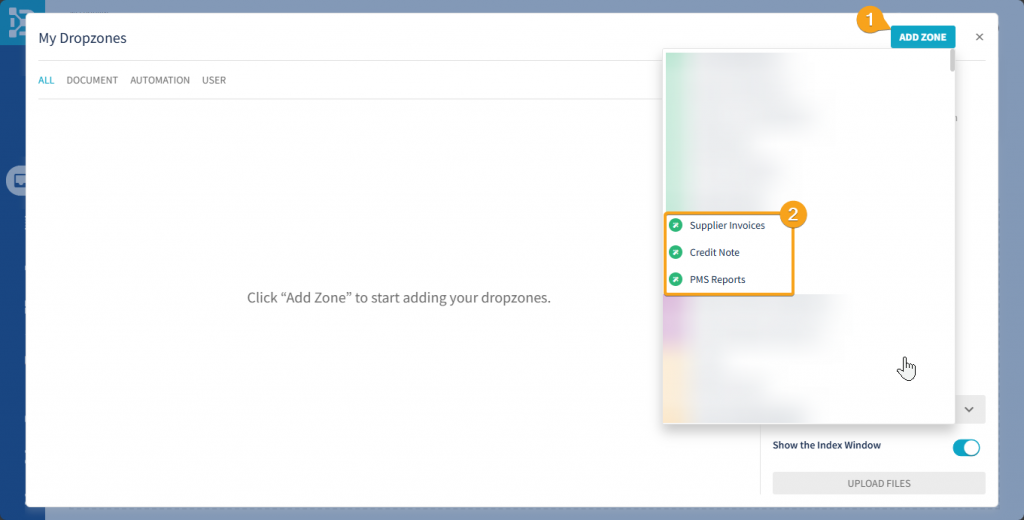
To add a new zone, (1) click the “Add Zone” button, then select your option from the pop-out list (2). In the below example, this process is repeated for all 3 options.
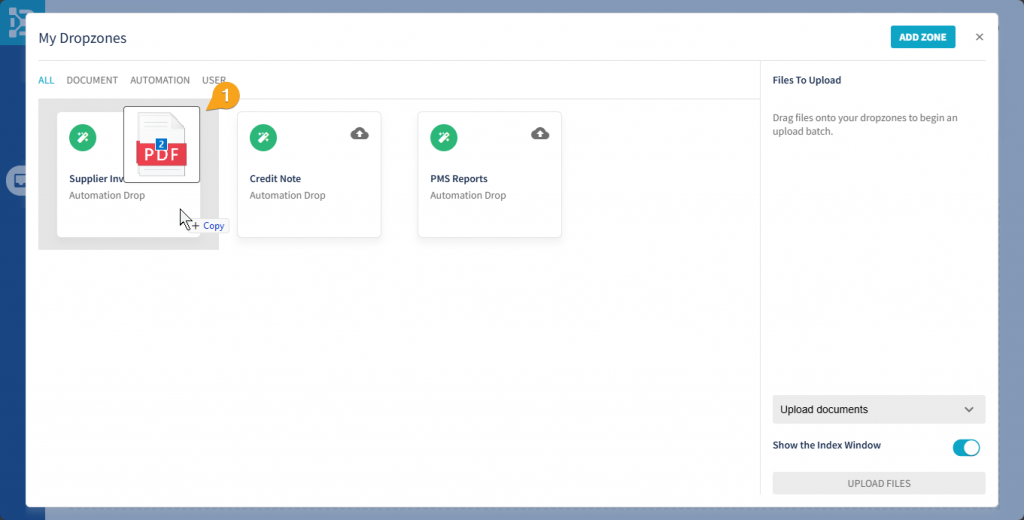
Once the zones have appeared in the body of the page, you can drag-drop files into them. In this example, two invoice are being dropped into “Supplier Invoice” (1), and then one invoice will be dropped into “PMS Reports”.
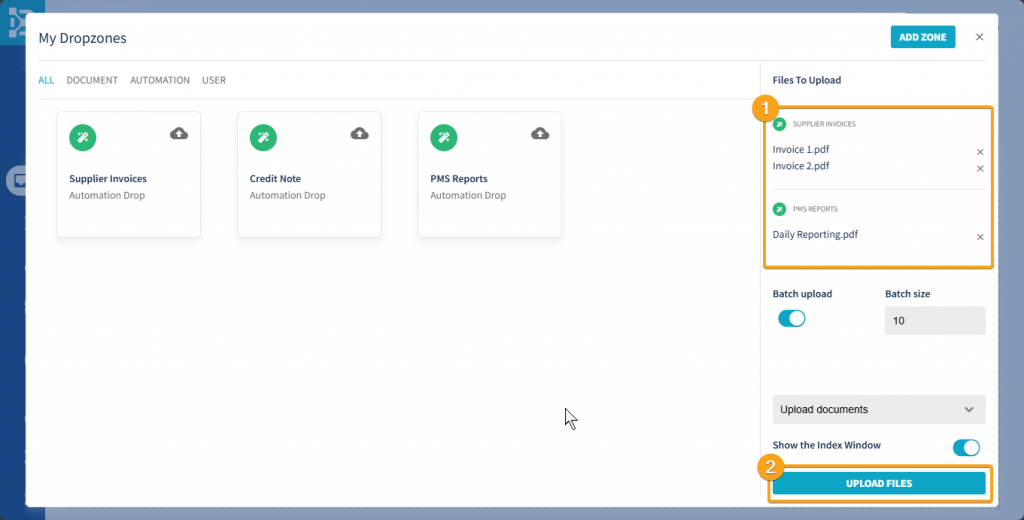
Once the files have been dropped into the applicable zone, we can review what is pending for upload in the right-hand pane (1). If any items are assigned incorrect, they can be removed by clicking the “x” to the right of the filename.
After the files have been checked, click “Upload Files” (2) to start the upload for those documents.
Your Dropzones are part of your user preferences and will be available when you re-open the Dropzones interface via Intray or Drag-Drop.
Notes for metered or slower upload speeds
In cases where the upload connection is limiting factor, the batch uploads can be disabled. With batch upload disabled, each file will be uploaded independent and sequentially.
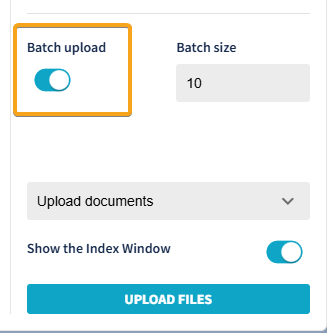
By default, the Dropzone uploads will be grouped in batches of 10 files. Batched uploads will generally provide the best balance of performance. For regular operations, leaving the defaults is recommended.
Emailing to DocMX
There are two main options for emailing documents to DocMX:
- Known Pathway
- Personal Intray
For more information about indexing once the documents are in DocMX, please review the below:
- How to Index (Video)
- Documents (add/index) (Article)
Known Pathway
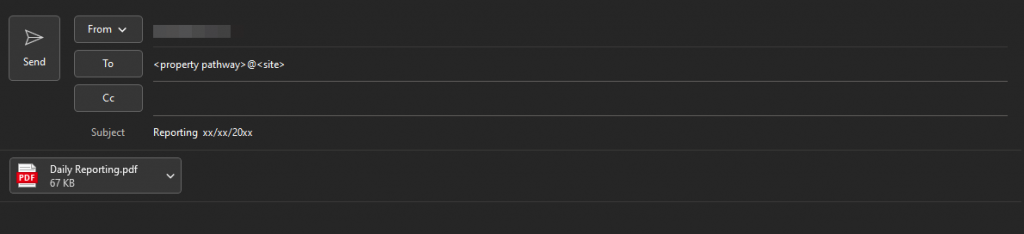
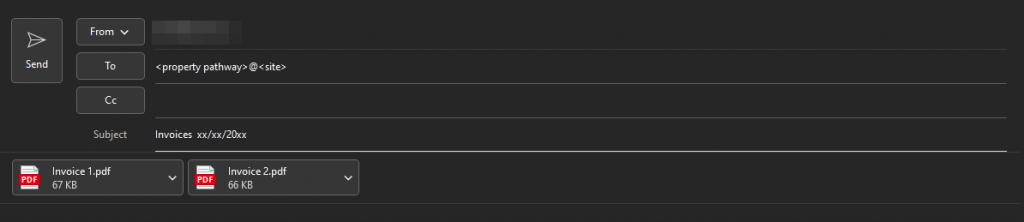
If you have a specific email address provided by your training documentation or the support team, you an upload the PDFs using those email addresses.
Each email address will provide a specific function, you will need to sperate your documents based on the function provided. For example, reporting and invoices would need to be separated accordingly.
Personal Intray
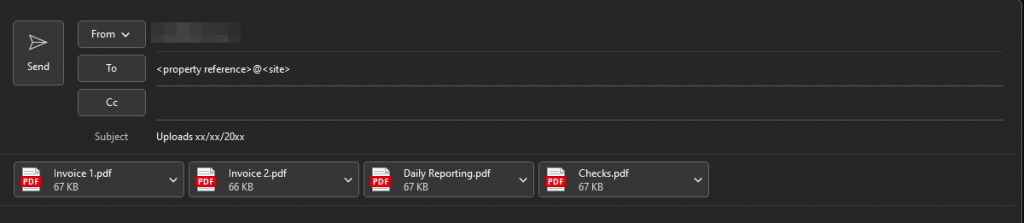
If you do not have a specific email address, you can still use email to upload the documents into your intray. In this case you will need to send the email from your DocMX account email address.
In this case, send the email to your property reference to ensure it is filed to the correct entity, then the documents will each appear in your intray for manual indexing.